Photometric First: Retail Lighting Design for Australian Contractors
Good retail lighting is layered lighting that puts the product first: ambient, accent and task layers working together, with strong vertical illumination on displays and walls. Get two things right before you order a single fixture: specify CRI 90+ for anything customers need to see true colour on, and run photometric calculations before committing to a fixture count. This article walks through fixtures, specs, survey workflow and procurement, in that order.
TL;DR:
- Using CRI 90+ for true color rendering and running photometric calculations are essential before final fixture selection to ensure target lux levels are met.
- Proper layering of ambient, accent, task, and architectural lighting creates a visual hierarchy that guides shoppers’ attention and enhances merchandising.
- Re-aimable fixtures like track-mounted heads are preferable in dynamic retail environments, as fixed downlights often require costly re-fitting as displays change.
- Site surveys, photometric file analysis, and separate phasing costs are critical to developing an accurate, performance-driven lighting plan.
- Handover documentation must include detailed luminaire schedules, photometric reports, and compliance certificates to prevent installation disputes and ensure scheme performance.
Table of Contents
- Principles of retail lighting design: layers and visual hierarchy
- Fixture types and where to use them
- Key specs and metrics to write into your brief
- Layout, survey and photometric workflow
- Controls and energy: dimming, scenes and sensors
- Fitting rooms and checkout: zone-specific lighting that reduces returns
- Procurement, commissioning and handover checklist
- Author perspective from a Level 2 electrical contractor
- What the standards get right, and where contractors still get burned
- How High Demand Electrical can help: design, install and commission
- Standards and calculators to consult
- Sources
Principles of retail lighting design: layers and visual hierarchy
Every workable scheme is built from four layers stacked on top of each other, not one uniform wash of light across the ceiling. Retail lighting should be specified in layers, ambient, accent, task and architectural, to build the visual hierarchy that actually guides a shopper’s eye and supports merchandising rather than just illuminating floor space.
- Ambient sets a comfortable baseline so the store doesn’t feel gloomy.
- Accent lifts feature displays and hero products above that baseline, usually at two to five times the ambient level.
- Task lighting handles checkout, fitting rooms and any zone where someone needs to read fine detail.
- Architectural lighting reveals ceiling features, columns or signage without doing any of the merchandising work.
Vertical surfaces matter more than most designers admit. Walls and display gondolas carry the bulk of visual merchandising, so lighting them properly does more for perceived depth and product visibility than adding more downlights overhead. Softening the light right at the entrance also matters: transition zones help shoppers’ eyes adapt from bright outdoor conditions to the store’s interior levels, rather than hitting them with a hard contrast at the door.
Pro Tip: If a customer notices the light fitting before they notice the product, the aiming angle is wrong. Glare control at eye level beats extra lumens almost every time.
Fixture types and where to use them
Match the fixture family to the job, not the other way around. Retailers who buy whatever’s cheapest per unit usually end up re-fitting accent lighting within two years because the fixed downlights they installed can’t be re-aimed as merchandising changes.
- Track-mounted heads: flexible accent lighting for feature tables, seasonal displays and anything that moves. Best where ceilings sit 2.7 to 4 metres, and where maintenance access is straightforward.
- Recessed downlights: discreet ambient fill for aisles and general circulation, where a clean ceiling line matters more than flexibility.
- Linear/strip fixtures: continuous runs along shelving, under-counter task light, and cove or architectural detailing.
- Pendants: statement lighting over feature counters or communal tables in higher-ceiling spaces, where they double as brand signalling.
Fixed downlights are cheaper upfront but lock in your layout. Track systems cost more per point but let visual merchandising teams re-aim as ranges change, which matters more in fashion and homewares than in supermarkets running static planograms.
Key specs and metrics to write into your brief
Numbers in a lighting brief protect everyone, the designer, the electrician and the retailer footing the bill. Recommended practice from bodies like the IES sets maintained illuminance targets around 300 lux for general sales areas, rising for tills and feature displays.
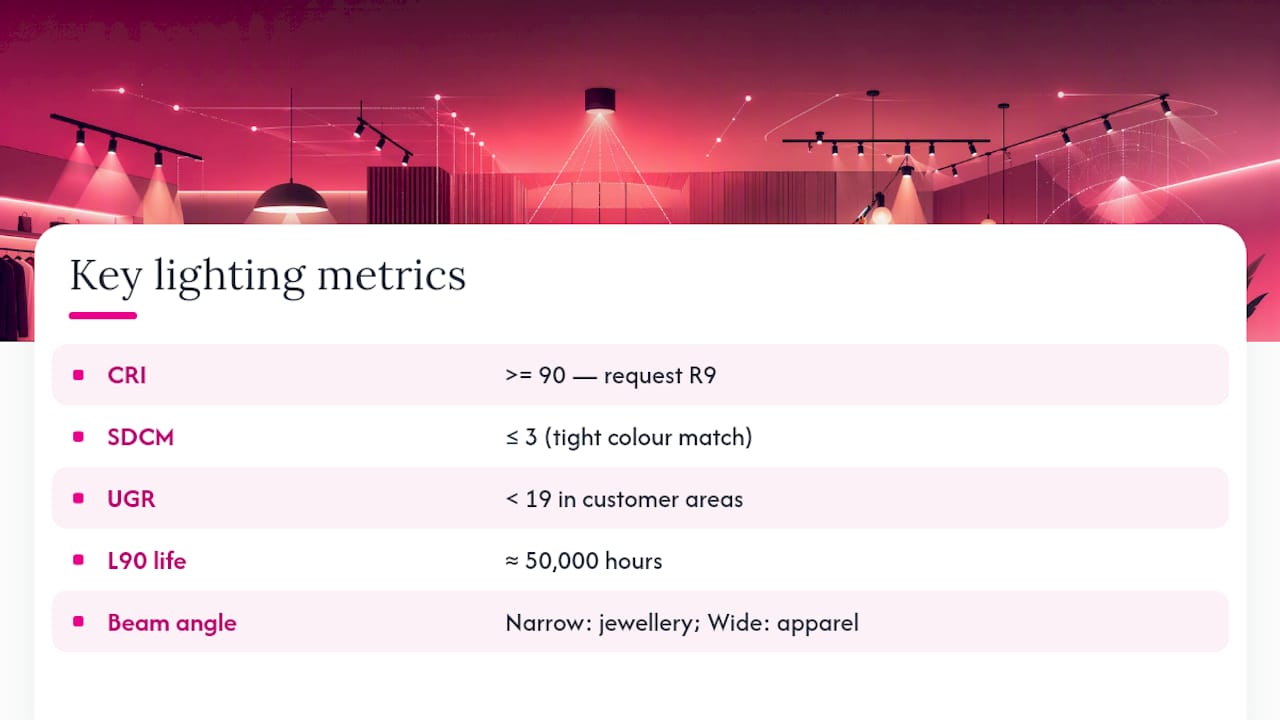
CRI matters as much as lux. CRI of 90 or above is recommended for apparel, cosmetics and food displays because it preserves true colour, and it’s worth asking suppliers for R9 values specifically since standard CRI averages can hide poor red rendering. SDCM (a measure of colour consistency between fixtures) should sit at 3 or tighter so adjacent luminaires don’t visibly mismatch. Aim for UGR below 19 in customer areas for glare comfort, choose beam angles by product type (narrow for jewellery, wider for apparel racks), and specify an L90 life rating (commonly 50,000 hours) so you know when output will have degraded to 90% of initial lumens. Always request the supplier’s IES photometric file, not just a datasheet.
Layout, survey and photometric workflow
A scheme that looks right on paper still needs verification before fixtures go on order. Skipping the survey is the single biggest reason retail lighting jobs underperform their spec on day one.
- Survey the site: record floorplate dimensions, ceiling height, surface reflectances (dark fitouts absorb far more light than pale ones), existing lux levels, emergency lighting circuits and access constraints.
- Request IES/LDT files from shortlisted suppliers rather than pricing by fixture count. Photometric calculations using those files are what actually confirm you’ll hit lux targets, a fixture-count guess frequently doesn’t.
- Zone the plan: apply spacing heuristics per zone, set aiming rules for accent fixtures, and document a luminaire schedule with every assumption you’ve made.
- Price access and phasing separately: night work, landlord access windows and staged handover all add cost that a simple per-fitting quote misses.
Pro Tip: Run the calculation before you quote, not after. A quote built from a photometric calculation is defensible if a client challenges brightness later; a quote built from a fixture count usually isn’t.
Controls and energy: dimming, scenes and sensors
Controls decide how much flexibility and energy saving a lighting scheme actually delivers once it’s switched on. Addressable protocols like DALI-2 give retailers scene recall and clean commissioning, which matters the moment a store wants an “opening” scene, a “daytime” scene and a “closing” scene without an electrician on site each time.
- Daylight linking dims perimeter fixtures automatically as natural light through shopfront glazing changes through the day.
- Occupancy sensors cut stockroom and back-of-house lighting costs without affecting the customer-facing floor.
- Scheduled scenes handle opening, trading and closing transitions automatically.
- Driver selection matters: mismatched dimming curves between drivers and controls cause flicker, so confirm compatibility before ordering, not after.
Fitting rooms and checkout: zone-specific lighting that reduces returns
Fitting rooms are a small line item that punches above their weight. Good fitting-room lighting reduces returns and lifts conversion more reliably than many bigger merchandising changes, because it’s the moment a customer decides whether an item actually looks right.
- Use diffused frontal light in fitting rooms, sourced from a high R9 fixture, at roughly 300 to 500 lux, positioned to avoid harsh downward shadows on the face.
- Checkout counters need higher task lux (around 500 lux), anti-glare fittings, and a consistent CCT that matches the rest of the store so operators can inspect goods and screens accurately.
- The three most common errors: mixing CCTs between zones, choosing low-CRI fixtures for cost, and mounting fixtures where the bare source is visible from customer eye level.
Procurement, commissioning and handover checklist
The spec you write is only as good as what actually gets installed and certified. Lock these details in before ordering, then confirm them again at handover.
- Specification checklist: CCT tolerance, CRI minimum, SDCM value, UGR limit, L90 life rating, driver and dimming compatibility.
- Procurement actions: request photometric files, confirm dimming compatibility, build in supplier lead times, and phase pricing so access and night work aren’t buried in a single line item.
- Handover deliverables: luminaire schedule, photometric report, commissioning certificate, operating manuals and warranty documentation.
| Deliverable | Why it matters |
|---|---|
| Luminaire schedule | Confirms exactly what was specified vs installed |
| Photometric report | Proves the scheme meets agreed lux targets |
| Commissioning certificate | Records testing and compliance sign-off |
| Manuals and warranties | Protects the retailer post handover |
Author perspective from a Level 2 electrical contractor
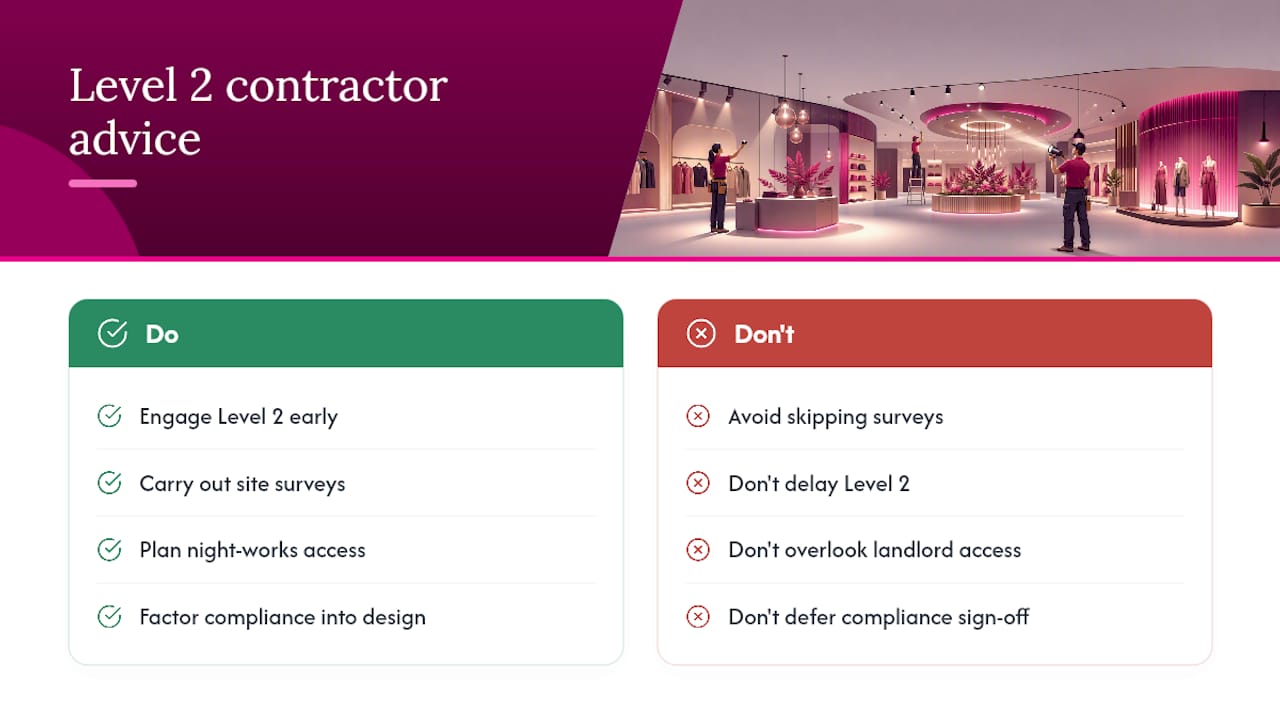
Christopher notes that most disputes trace back to skipped surveys, not bad fixtures. Any scheme touching switchboard capacity, new circuits or emergency lighting needs a certified Level 2 electrician involved early, particularly for night works and landlord access windows where compliance sign-off can’t be an afterthought.
What the standards get right, and where contractors still get burned
Most retail lighting guides do a decent job explaining lux targets and CRI. Where they consistently fall short is procurement discipline: they treat photometric calculation as optional homework rather than the thing that actually protects the client’s money.
The gap between a good-looking spec sheet and a scheme that performs on opening day is almost always the survey. Underquoting happens when access, phasing and certification aren’t priced separately, and that’s a commercial failure dressed up as a design failure. My honest read: designers spend too much time debating CCT preferences and not enough time confirming ceiling height, reflectance and existing circuits before they draw a single fixture layout.
If you take one thing from this, prioritise the photometric file over the fixture catalogue. A supplier’s glossy datasheet tells you what a fixture can theoretically do. An IES file, run against your actual floorplate, tells you what it will do in your store.
— Christopher
How High Demand Electrical can help: design, install and commission
Getting a retail lighting scheme from spec sheet to switched-on reality takes more than good fixtures. It needs someone who can survey the site properly, run the photometric numbers, and sign off compliance without turning your fit-out timeline into a guessing game.
We design, install, test and commission retail lighting schemes, backed by a site inspection for Level 2 work so you know the scope and cost before anything’s ordered. Handover comes with proper documentation, luminaire schedules, photometric reports and commissioning certificates to clarify what was specified versus what got installed. If your fit-out also needs additional circuits or a power supply upgrade to carry the new lighting load, that’s covered under the same visit. Get in touch through our lighting design and installation page to book a free site inspection and get a proper photometric assessment before you commit to a single fixture order.
Standards and calculators to consult
- IES RP-2-20 for maintained illuminance targets.
- Shop lighting calculator for fixture count and spacing checks.
- Supplier IES/LDT files for defensible photometric proof before ordering.
Sources
- How to Quote and Run a Retail Shop Lighting Installation | Zigaflow
- Retail store lighting ideas to make every display shine | RC Lighting
- Lightingcalculator
- Planning
Recommended
Related Services
Powering Your Needs with Expertise
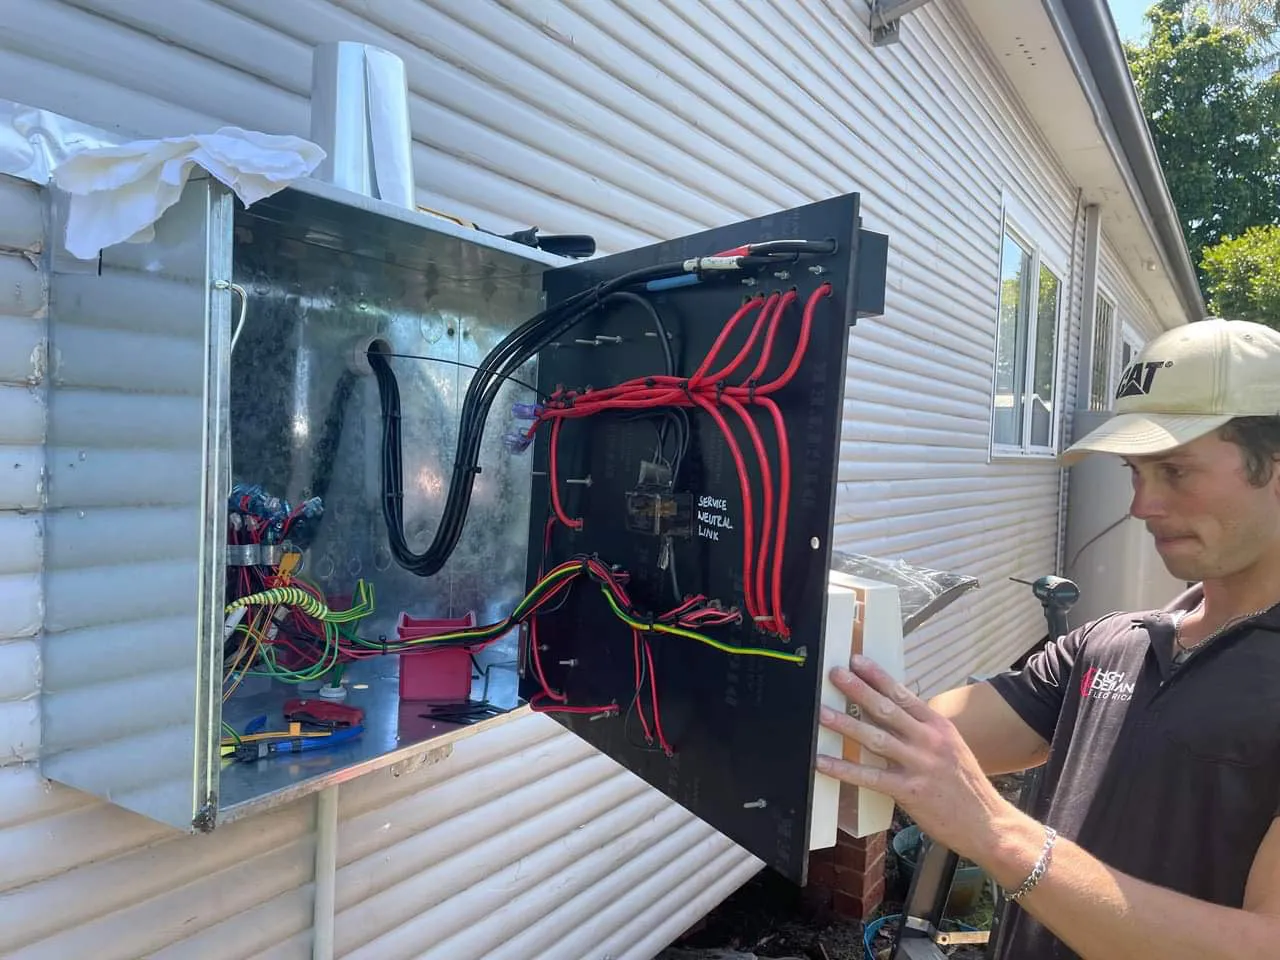
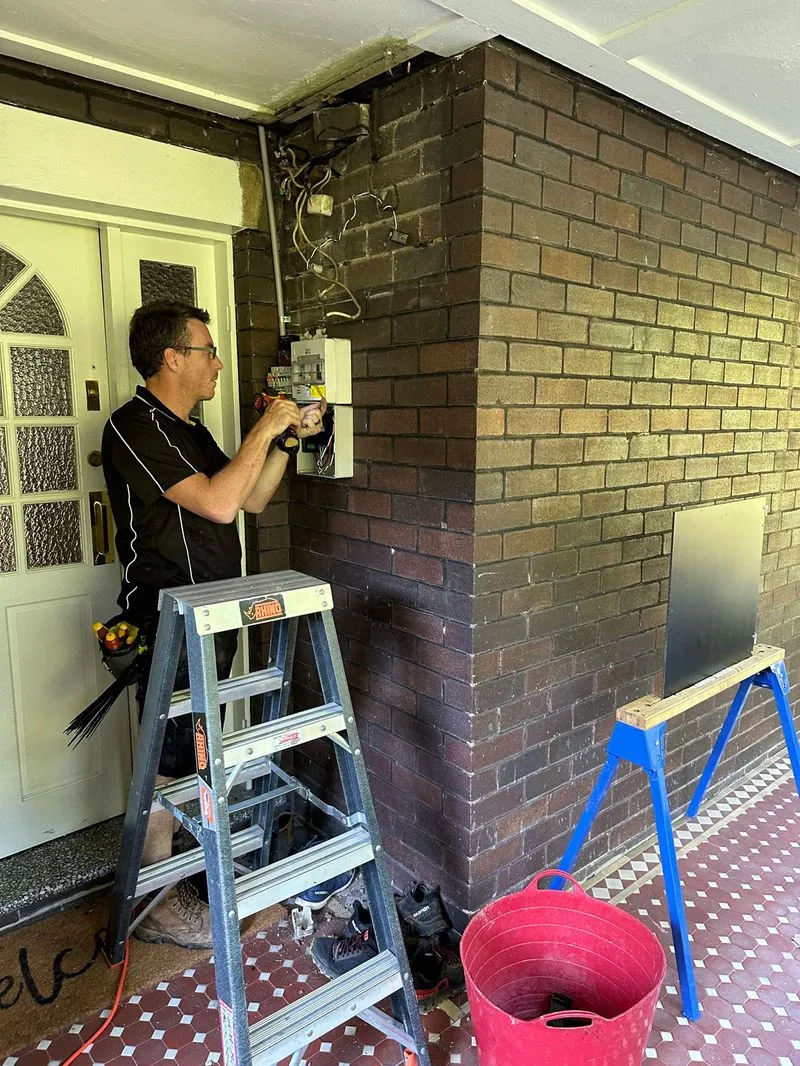
If you’re looking for a reliable, experienced, and prompt electrician, look no further than High Demand Electrical. We cater to all your electrical needs, from routine maintenance to emergency repairs and complete system installations. Our skilled team is committed to providing professional service that ensures your electrical systems run smoothly. Whether it's a small task or a large project, give us a call today. Let us meet all your electrical demands with the quality and reliability you deserve.