7 Lighting Control Sensors Electricians Recommend for Homes & Offices
Lighting control sensors automatically switch or dim lights by detecting motion, presence, or ambient light levels. For most rooms, start by choosing between motion detection types (PIR, microwave, or ultrasonic) and a daylight sensor, then move to dual-technology sensors wherever reliable detection matters more than upfront cost.
Table of Contents
- What are the main types of lighting control sensors?
- Occupancy vs vacancy sensor: which mode do you need?
- How much energy do lighting control sensors actually save?
- Which sensor suits which space?
- How do you install sensors without causing nuisance switching?
- How do you choose the right sensor and brief a supplier?
- What are networked lighting controls and when do you need one?
- What does a Level 2 electrician actually see on site?
- Get your sensor project assessed properly the first time
- Sources
What are the main types of lighting control sensors?
Every lighting control sensor detects one of two things: movement or light level. How it detects movement is what separates the categories, and each has a job it does better than the others.
PIR (passive infrared) sensors detect the heat signature of a moving body and need a clear line of sight to work properly. They're the most common choice for defined indoor zones like bedrooms, offices, and meeting rooms because PIR sensors are cost-effective and precise, though they demand unobstructed sightlines to the detection zone.
Microwave sensors work more like radar. They emit a signal and read the reflection, which means microwave sensors can detect movement through thin materials that would block a PIR sensor entirely. That makes them useful behind plastic covers, glass partitions, or in awkward layouts with obstructions. The trade-off is sensitivity. Microwave units can trigger on movement in an adjacent space, so placement needs more care.
Ultrasonic and acoustic sensors pick up subtle motion or sound, including small hand movements at a desk or the rustle of paperwork. They suit quiet, low-movement spaces where a PIR sensor might time out too quickly, like private offices or library carrels.
Photocell (daylight) sensors measure ambient light rather than movement. They handle two distinct jobs: dusk-to-dawn switching for outdoor and security lighting, and daylight harvesting, where indoor lights dim automatically as natural light increases near windows.
Dual-technology sensors combine two detection methods, usually PIR with ultrasonic or microwave. This isn't overengineering. Combining two sensing methods measurably cuts down false-on and false-off events, which matters most in corridors, stairwells, and open-plan offices where a single technology tends to misfire.
- PIR: heat detection, needs line of sight, best for defined rooms
- Microwave: penetrates thin barriers, wider coverage, needs careful tuning
- Ultrasonic/acoustic: catches subtle motion, suits quiet workstations
- Photocell: daylight harvesting and dusk-to-dawn switching
- Dual-technology: combines two methods to reduce nuisance triggering
Occupancy vs vacancy sensor: which mode do you need?
The detection technology is only half the decision. The other half is how the sensor behaves once it detects (or stops detecting) someone.
Occupancy sensors switch lights on automatically when they detect motion and switch off automatically once the space is empty. Vacancy sensors require a manual switch-on but turn off automatically. The difference sounds minor, but vacancy mode is often specified in energy codes for daylit or transient spaces because it prevents lights firing on unnecessarily when there's already enough natural light.
Most sensors also offer partial-on and full-on settings. Partial-on brings lights to a lower level (say 50%) on detection, then ramps to full brightness only if motion continues, saving energy in transitional spaces like corridors.
Rules of thumb worth applying on almost every job:
- Use vacancy mode in perimeter offices, meeting rooms, and any daylit space where manual control on entry costs nothing
- Use occupancy mode in windowless rooms, bathrooms, and storerooms where auto-on removes a genuine hazard
- Reserve partial-on for high-traffic transitional areas like stairwells and corridors
How much energy do lighting control sensors actually save?
The honest answer is "it depends on the baseline," but the range is significant. Occupancy-based lighting controls have reduced lighting energy consumption in commercial buildings by up to 45%, though that figure assumes a building running lights on manual switches or timers beforehand, with genuinely intermittent occupancy.
Typical savings driver: the bigger the gap between a space's actual occupancy pattern and its previous lighting schedule, the bigger the saving. A stairwell lit 24/7 on a timer has far more to gain than an open-plan office already on a strict roster.
Beyond the electricity bill, sensors deliver a few benefits that don't show up on an invoice straight away:
- Fewer manual switch operations, which extends lamp and driver life
- Improved perimeter security through consistent, automatic outdoor lighting
- Reduced maintenance callouts since lights aren't left running unattended for hours
Savings shrink fast when sensors are poorly placed, set to the wrong mode, or ignore available daylight. A PIR sensor aimed at a doorway instead of the work zone, or an occupancy sensor running in a space with strong natural light, wastes most of the potential saving before it's even switched on.
Which sensor suits which space?
Matching sensor type to room type is the single biggest lever for reliable detection. Here's a practical run-down for the spaces we get asked about most:
- Bedrooms and living rooms – vacancy mode with a PIR sensor; manual-on avoids lights firing on when someone's watching a movie in the dark.
- Bathrooms and ensuites – occupancy mode PIR, since hands-free auto-on is genuinely useful when they're wet or holding something.
- Kitchens – occupancy PIR or dual-technology, since standing still at a bench for long stretches can trip up a basic PIR timeout.
- Corridors and stairwells – dual-technology with partial-on, given the high foot traffic and safety requirement for reliable detection.
- Carparks and outdoor areas – microwave or dual-technology paired with a photocell, so lights only run once dusk falls and someone's actually present.
- Warehouses – microwave or dual-technology sensors networked into zones, because ceiling height and racking create blind spots for a single PIR unit.
- Open-plan offices – dual-technology with daylight harvesting near windows, and networked zoning for larger floors.
Outdoor and security lighting nearly always benefits from coordinating a motion sensor with a photocell rather than running either alone, so the fixture doesn't trigger during daylight hours and still lights up reliably after dark.
How do you install sensors without causing nuisance switching?
Nuisance switching (lights firing on for no reason, or switching off while someone's clearly still there) is almost always a placement problem, not a faulty unit. Improper sensor placement is the single most common cause of application problems in the field, and a proper line-of-sight audit before mounting fixes most of it.
A practical checklist before any sensor goes on the wall or ceiling:
- Map the room's traffic paths and mount PIR sensors where they have a clear view of the main entry and work zones
- Check for glass, plastic panels, or thin partitions nearby if you're using microwave sensors, since they'll pick up movement on the other side
- Mount at the manufacturer's recommended height and angle, typically ceiling-mounted for wide coverage or wall-mounted for corridor throw
- Use physical or software masking to blind off areas like busy corridors visible through a doorway
- Test and adjust sensitivity, time delay, and lux threshold on commissioning, not just at default settings
Pro Tip: Walk the space at the time of day it's actually used, not just during the trade visit. A sensor that looks perfectly placed at 10am can miss half its triggers in a dim, curtain-drawn evening room.
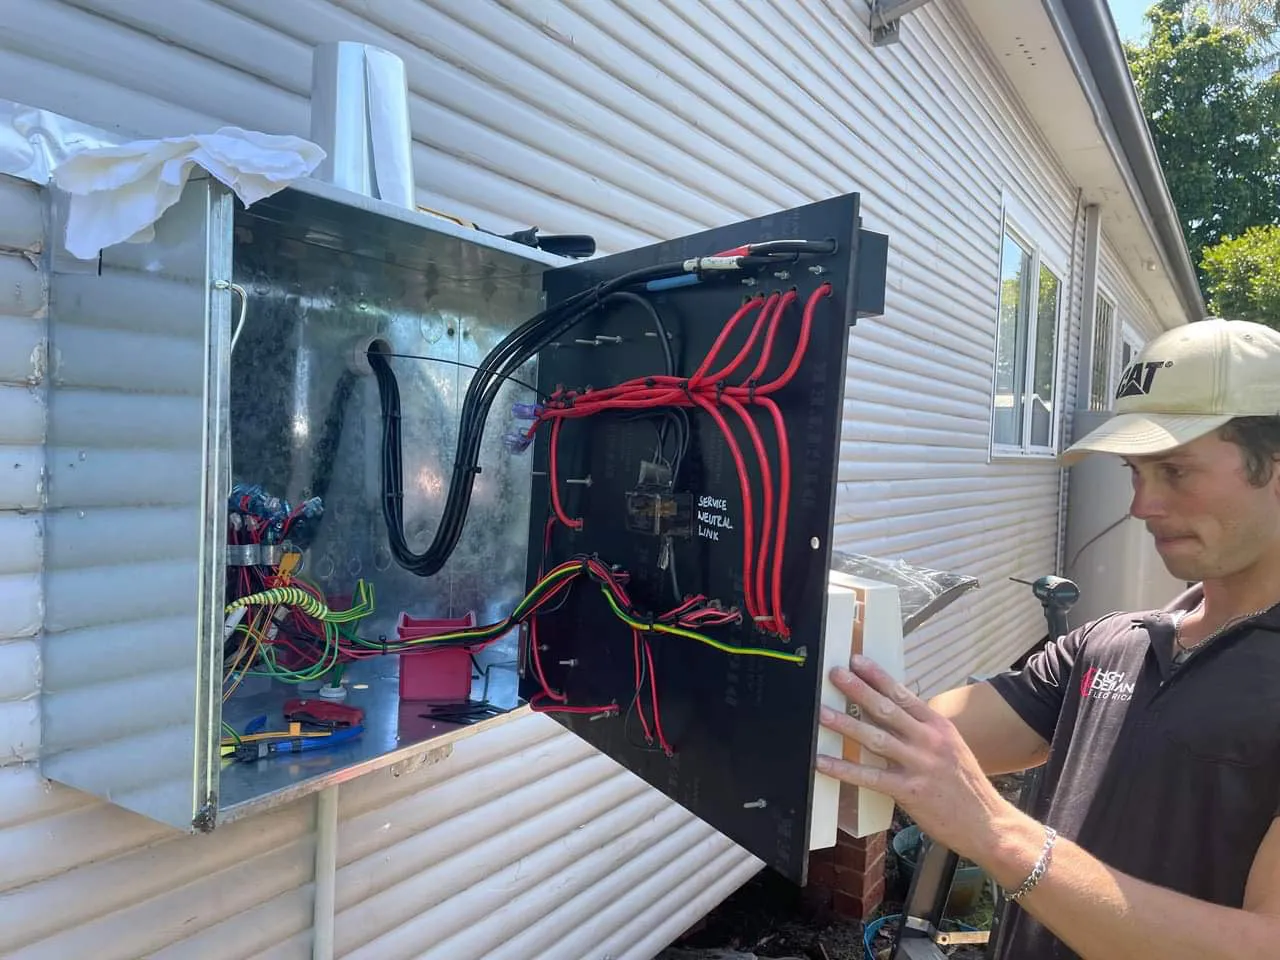
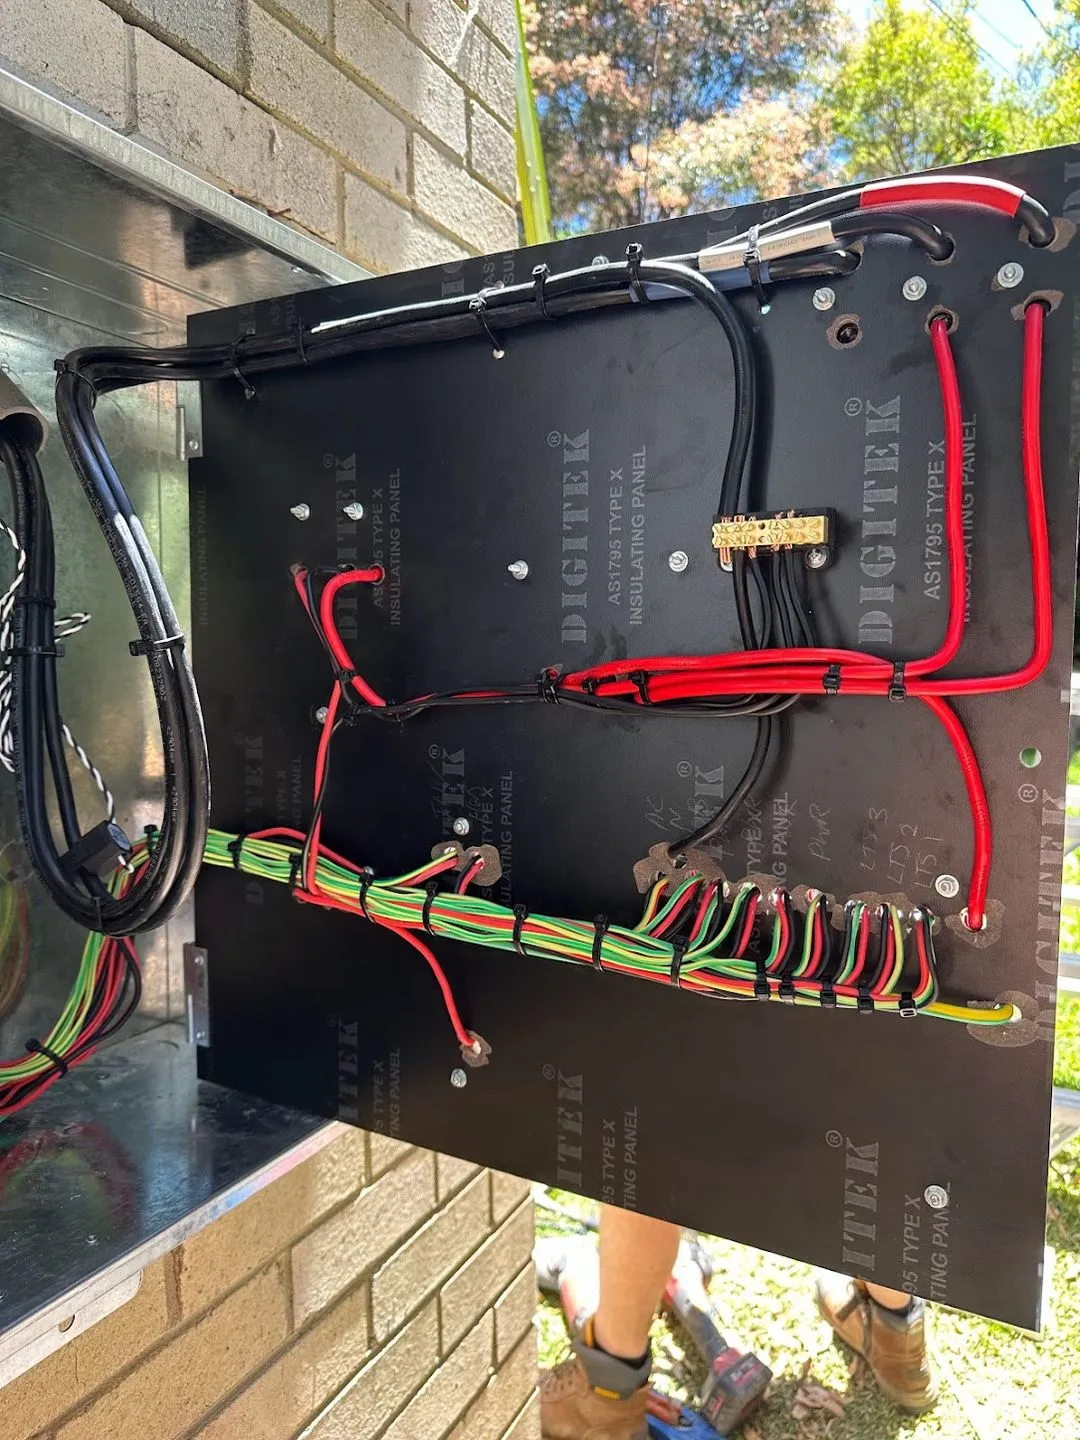
Sensitivity and time-delay tuning solve most complaints without swapping hardware. Anything involving new wiring runs, switchboard capacity, or networked control gear is a job for a licensed electrician, particularly where existing circuits need modification to support the new load or communication cabling.
How do you choose the right sensor and brief a supplier?
A sensible decision checklist before you buy anything:
- Detection reliability – does the space have obstructions, glass, or long sightlines that rule out a basic PIR?
- Integration needs – does it need to talk to other sensors, a gateway, or a building management system?
- Power and wiring – is it a straightforward relay swap or does it need new cabling and a switchboard upgrade to support it?
- Warranty and support – commercial-grade sensors typically carry longer warranties and better documentation for future servicing.
- Installer support – can the supplier or electrician commission the sensor properly, not just fit it?
Ask any supplier or electrician directly: what's the coverage pattern and mounting height for this model, does it support partial-on, and what's the lux threshold range? Entry-level residential sensors suit single rooms with simple needs. Commercial-grade units cost more upfront but pay off in larger or high-traffic spaces where a false trigger or missed detection actually matters, and our lighting design and installation service can spec and commission the whole system for you rather than leaving it to guesswork.
What are networked lighting controls and when do you need one?
A standalone sensor drives a single relay or fixture. Networked lighting control (NLC) links multiple sensors and luminaires through a gateway, so occupancy data can be shared across devices and settings reconfigured through software rather than rewiring.
That matters most in buildings with zoning requirements, analytics needs, or frequent layout changes.
- Local relay control suits single rooms or small retrofits with fixed layouts
- Networked control suits open floors, warehouses, and any site where zones get reshuffled often
- Gateways allow remote commissioning, so time delays and lux thresholds can be adjusted without a return site visit
- Ongoing maintenance shifts toward software updates and periodic recalibration rather than physical rewiring
For office and industrial fitouts, the upfront cost of a networked system is usually justified by how much easier it makes future changes, and our guide to lighting upgrades for Sydney businesses covers the broader planning and compliance side of that decision.
What does a Level 2 electrician actually see on site?
Most sensor complaints come down to the same three things: a unit mounted with a poor sightline, the wrong sensor technology for the space, or no proper commissioning after install. Commissioning, adjusting sensitivity, time delay, and lux level, fixes more problems than swapping hardware ever does.
A free site inspection for Level 2 work often uncovers the real constraint, whether it's switchboard capacity or old wiring that won't support a networked system, the kind of underlying issue a broader electrical safety inspection often flags too, before a single sensor goes on order. That's the value of a Level 2 certified electrician available around the clock, backed by 300 five-star reviews from jobs where the fix wasn't the sensor at all.
— Christopher
Get your sensor project assessed properly the first time
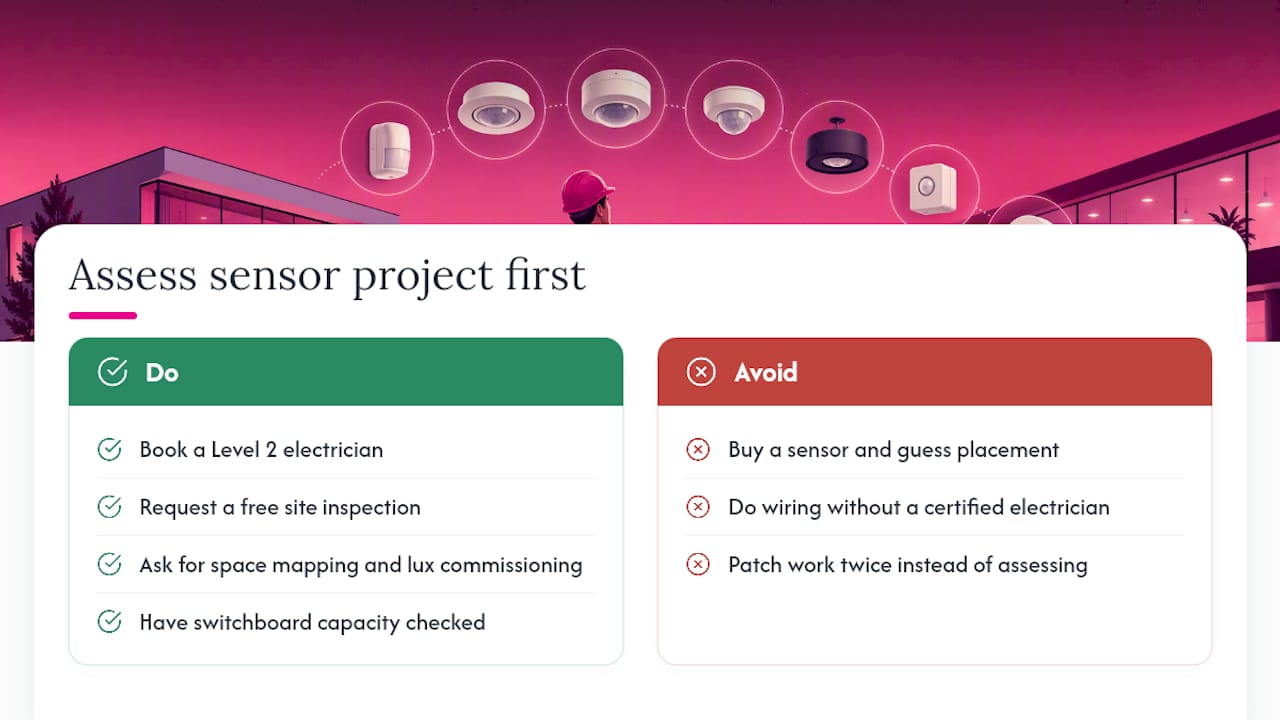
Hdlevel2electriciansydney is the practical alternative to guessing your way through a sensor upgrade. Instead of buying a unit online and hoping the placement works, you get a Level 2 electrician who maps your space, checks your switchboard capacity, and commissions the sensitivity and lux settings properly on day one.

Our team handles everything from a single PIR retrofit through to networked lighting design and installation across residential, commercial, and strata properties. Because Level 2 work covers connections to the network supply, any wiring changes tied to your sensor upgrade need a certified electrician anyway, so it makes sense to have one assess the whole job rather than patch it twice. We offer free site inspections for Level 2 work, which means you know exactly what's involved before committing to anything.
If nuisance switching, poor coverage, or an outdated switchboard is holding your lighting plan back, book a Level 2 electrician in Sydney for a free site inspection and get a clear plan for your space.
Related Services
Powering Your Needs with Expertise
If you’re looking for a reliable, experienced, and prompt electrician, look no further than High Demand Electrical. We cater to all your electrical needs, from routine maintenance to emergency repairs and complete system installations. Our skilled team is committed to providing professional service that ensures your electrical systems run smoothly. Whether it's a small task or a large project, give us a call today. Let us meet all your electrical demands with the quality and reliability you deserve.